Spraying X8R Mirror Bases

DanielleHN

Dedicated Member
British Zeds
Joined
Jan 25, 2018
Points
39
Location
Birmingham UK
Model of Z
BMW Z3 2.8i
Hi everyone

As requested by @Tim beard I'll be uploading progress notes in regards to spraying the new wing mirror bases.

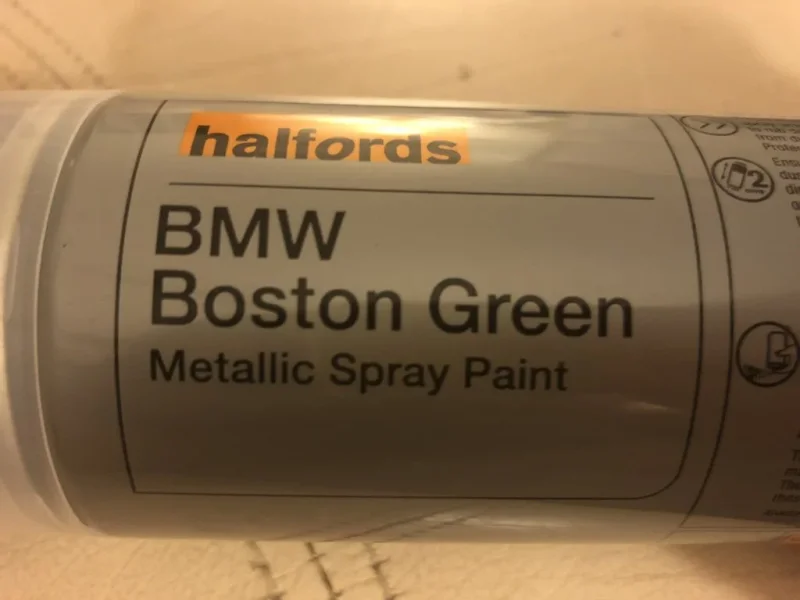
I’ve taken photos so far of where I have got to with spraying the bases of the X8R wing mirrors I’ve bought to combat the corrosion battle. My car is Boston Green so started off very nervous in case I couldn’t match the paint up. Tim kindly offered to fix my errors if it doesn’t go to plan!

After requesting opinions from other lovely members, I decided to give it a go with Halfords' very own paint.

As of this morning I have purchased all the gear from our local Halfords - you know what they say "all the gear, no idea" haha.

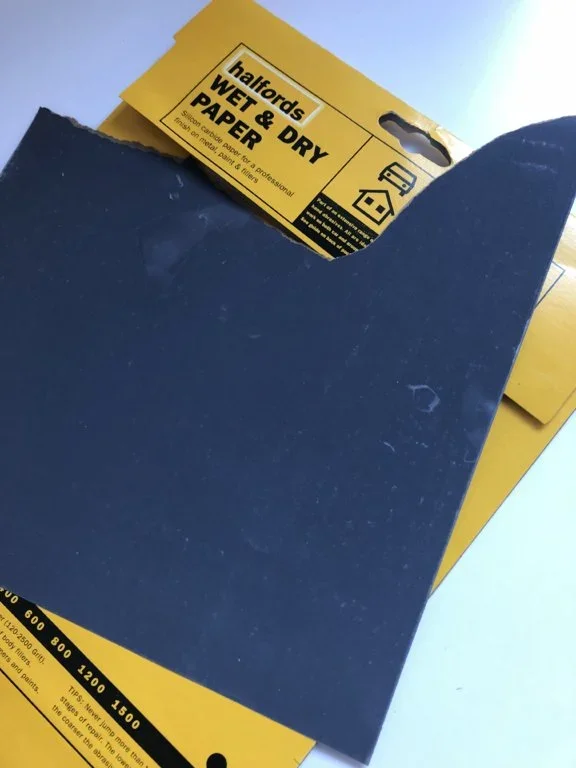
I started off by completely cleaning down all of the new parts using Halfords Paint Preparation Wipes (£1.49 for 5) to ensure there was no dust or debris.

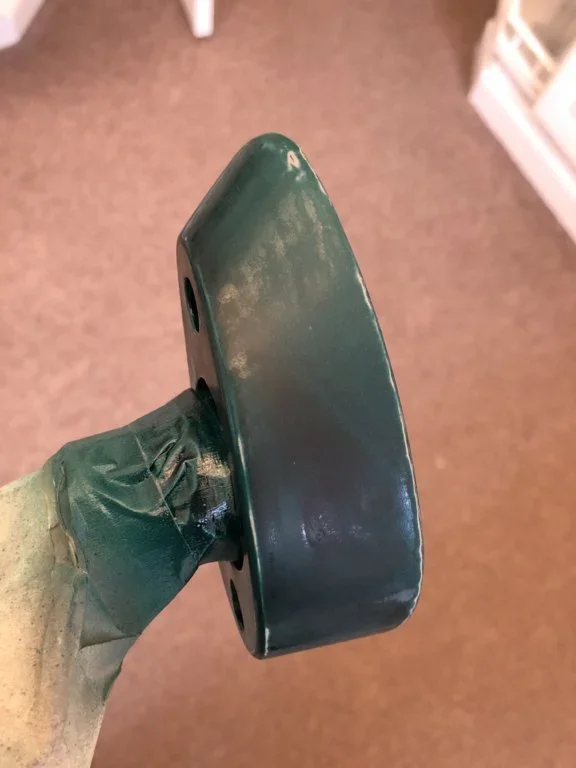
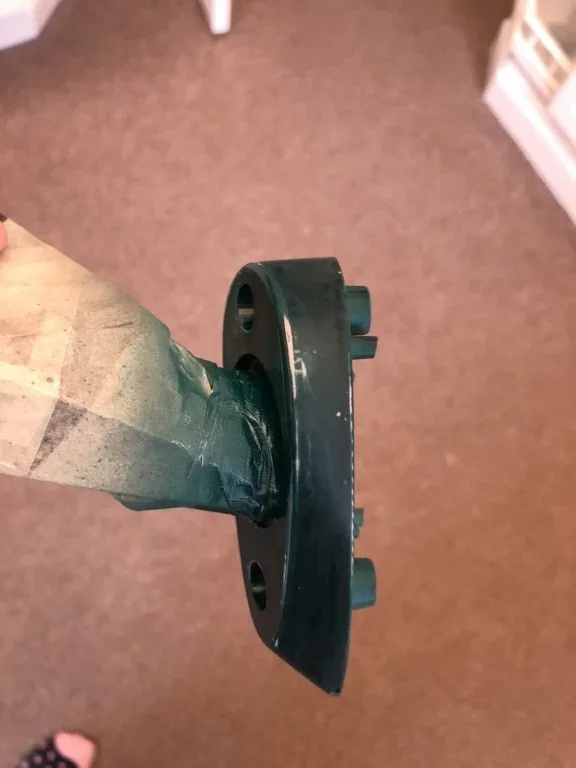
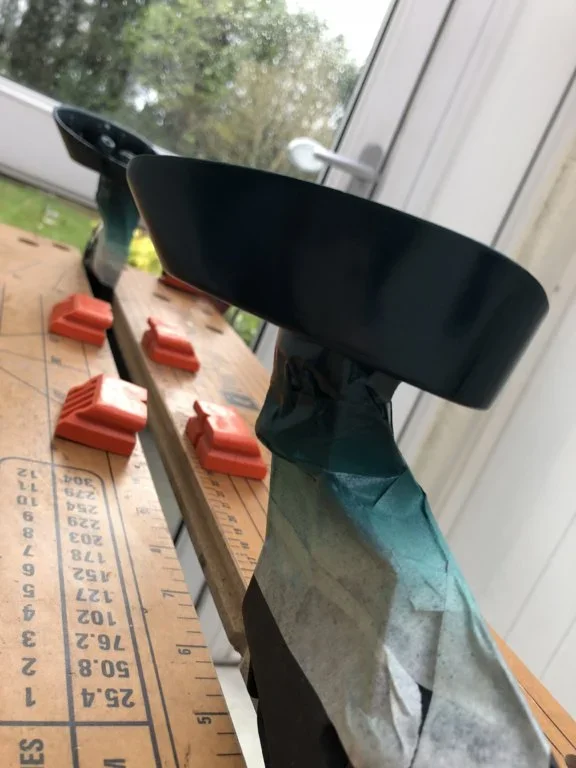
Once dry, I’ve opted for the Etch Primer (£9.99) as recommended on a previous thread. I set myself up outside in the garden as it's a still sunny and surprising warm day for January. I used the primer as instructed on the can - spraying 20-30cm away from the surface in quick even sprays. I opted for 3 coats waiting 10-15 minutes between whilst continually shaking the can whilst I waited.

I'm really happy with the finish at the moment and will attached photos below.

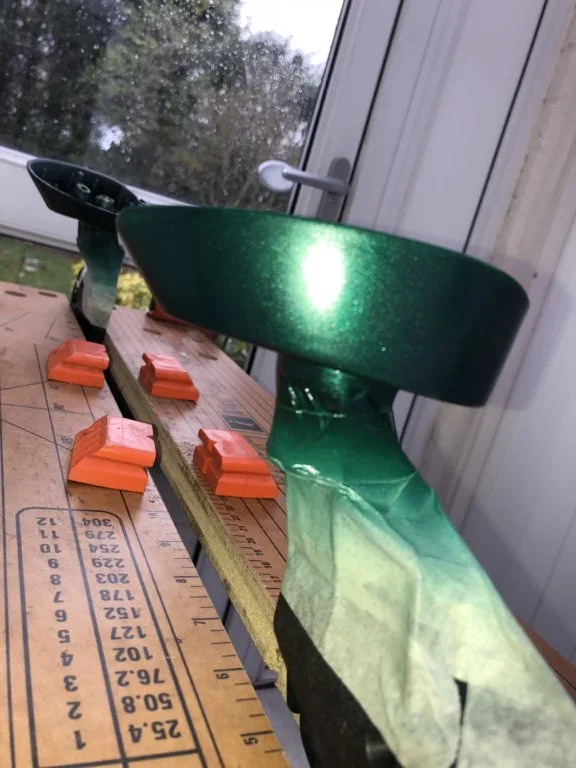
My next step will be applying the Boston Green Paint, when I've done it I will comment below and add further photos!Fingers crossed!
image1.webp
image2.webp
image3.webp
image4.webp
image5.webp
image1.webp image2.webp image3.webp image4.webp image5.webp
 
You are luck that Halfords stock Boston Green. Estoril Blue seems hard to find unless you buy it from BMW.
 
I think Halfords can mix most colours from the paint code.:thumbsup:
 
I hate to say this but IMO you have used the wrong primer, etch primer is normally for bare metal surfaces, unless Halfords has one that does both metal and plastic, looks like you have done a great job of applying, what did you use to key the surface.
 
I hate to say this but IMO you have used the wrong primer, etch primer is normally for bare metal surfaces, unless Halfords has one that does both metal and plastic, looks like you have done a great job of applying, what did you use to key the surface.
I read up on all primers Halfords sell and this one states it can be used on a variety surfaces. I also did a bit of googling and it’s come back pretty positive. I’m grateful for everyone’s opinions as you’ve all probably got a lot more experience than myself! There was a comment in the thread yesterday about a success using etch primer so thought I’d give it a blast - hoping it all turns out well.

As the surface was already pretty smooth, I just cleaned it down with warm water followed up by the Halfords prep wipes x
OK, good luck
 
Great job so far :thumbsup: Keep going and put the men to shame :D
 
Are you intending wet flatting the primer before top coat?

Tony.
 
Are you intending wet flatting the primer before top coat?

Tony.
Hi Tony

I’ve bought the wet and dry abrasive paper just in case but it feels completely smooth to me! There are not lumps or bumps, and the surface feels perfect. I’m going to leave it until Thursday afternoon now as I’m away with work tomorrow, if it’s any different then I’ll probablg gently rub it down

I know what you're saying here Danielle, but a gloss coat will show up microscopic lumps and bumps that you cannot see, especially on a Matt finish on primer.

Tony.
 
HI Everyone

Second part of the process has been completed today!

The Etch Primer previously used seem to work perfectly, the surfaces were smooth but took @t-tony 's advice about rubbing down. I used Halfords "Wet and Dry Paper 2500" for the job. I can't remember how much I paid for it but a couple of pound at the most. The paper was a breeze to use and i was really happy with the result.

I set myself up as I did the other day, out in the garden - sun is shining, very little wind and not too cold. As soon as I started spraying the first base, it immediately started to hail - safe to say it b******* the first coat up with drop marks!!! FURIOUS :mad:. However, it's my own fault for risking the British weather.

After I'd finished being livid, had a cup of tea and cracked on with some work (I'm spraying during lunch breaks when working from home), I'd cooled down and was ready to try again. I decided to crack on with the second base - all in all I did 4 coats of the paint Halfords BMW Boston Green (I think it cost about £9). That base turned out perfectly - over the moon.

I went back to the first base and decided to sand down all of the previous paint until it was completely smooth. The Wet and Dry Paper worked a treat doing this too as with conventional sand paper, I would never have got such a smooth finish. 4 coats of paint later and the first base is as good as the second.

I'm made up so far - really impressed with the Halfords paint and also myself for not messing up too badly!

One step left - Lacquer - bit frightened about this so any tips would be massively appreciated!

Photos below including two of the sanded down first base ready for re-painting :)
 

Attachments

  • IMG_0917.webp
    IMG_0917.webp
    31.2 KB · Views: 423
  • IMG_0916.webp
    IMG_0916.webp
    29.5 KB · Views: 443
  • IMG_0920.webp
    IMG_0920.webp
    28 KB · Views: 418
  • IMG_0921.webp
    IMG_0921.webp
    24.2 KB · Views: 392
  • IMG_0922.webp
    IMG_0922.webp
    40.7 KB · Views: 407
  • IMG_0923.webp
    IMG_0923.webp
    51.4 KB · Views: 446
  • IMG_0924.webp
    IMG_0924.webp
    54.1 KB · Views: 436
Looks good, well done :thumbsup:

Wish I had the time at the moment. As I'm currently replacing both door mirrors on my Silver Zed. Got the X8R bases, and sorry to say I'm paying someone to get the bases and housings painted. As I just don't have the time at the moment.

Must say I am impressed with the bases so far. Just can't wait to get them back and on the car!. Then I can start to get the interior put back together, as I currently installing an extended leather interior and Z3M centre console.
 
HI Everyone

Second part of the process has been completed today!

The Etch Primer previously used seem to work perfectly, the surfaces were smooth but took @t-tony 's advice about rubbing down. I used Halfords "Wet and Dry Paper 2500" for the job. I can't remember how much I paid for it but a couple of pound at the most. The paper was a breeze to use and i was really happy with the result.

I set myself up as I did the other day, out in the garden - sun is shining, very little wind and not too cold. As soon as I started spraying the first base, it immediately started to hail - safe to say it b*****ed the first coat up with drop marks!!! FURIOUS :mad:. However, it's my own fault for risking the British weather.

After I'd finished being livid, had a cup of tea and cracked on with some work (I'm spraying during lunch breaks when working from home), I'd cooled down and was ready to try again. I decided to crack on with the second base - all in all I did 4 coats of the paint Halfords BMW Boston Green (I think it cost about £9). That base turned out perfectly - over the moon.

I went back to the first base and decided to sand down all of the previous paint until it was completely smooth. The Wet and Dry Paper worked a treat doing this too as with conventional sand paper, I would never have got such a smooth finish. 4 coats of paint later and the first base is as good as the second.

I'm made up so far - really impressed with the Halfords paint and also myself for not messing up too badly!

One step left - Lacquer - bit frightened about this so any tips would be massively appreciated!

Photos below including two of the sanded down first base ready for re-painting :)

Same thing applies here after the colour is hardened I would set flat that too, then 3 coats of clear. Wait to harden, wet flat final coat and put in a warm oven or airing cupboard. I don't tell Shirl about that bit.;)

Tony.
 
Back
Top