What amazes me is how you know how to put it all back together. It's black magic to me.
I don’t
 ...... but luckily, there’s lots on here that do
 )")
What amazes me is how you know how to put it all back together. It's black magic to me.
...... but luckily, there’s lots on here that do ")
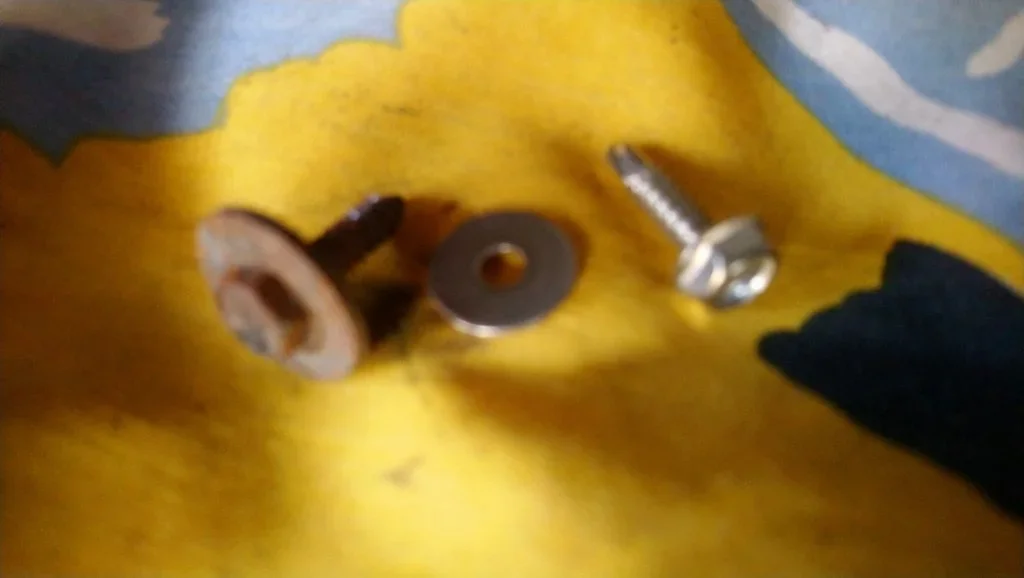
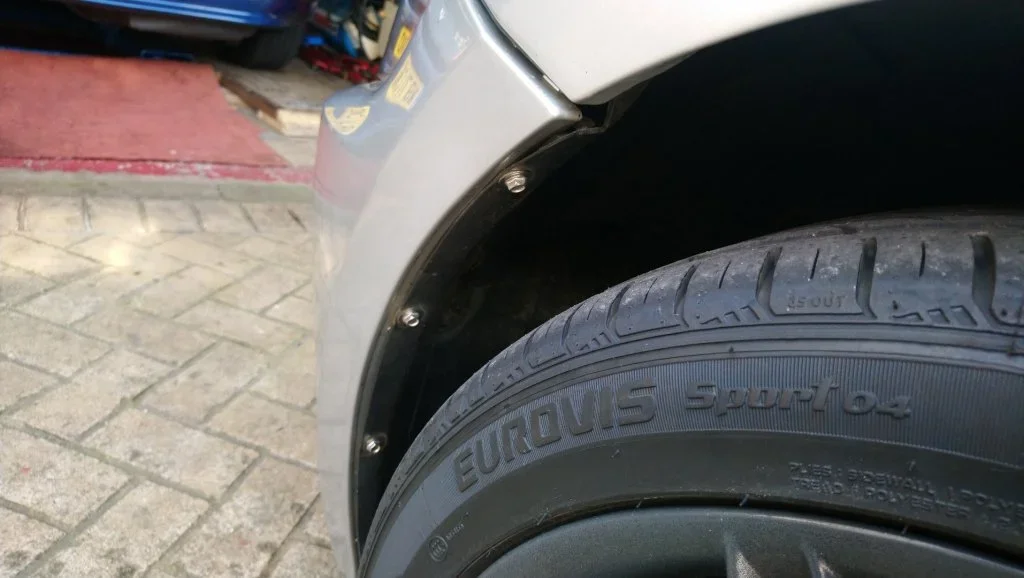
That hidden tin eating thing, and that's why everyone needs to check the inner sills bet they looked good before you took the outers offSpent 3 hours wrestling with the 8mm AF screws that seem to fix all the panels and sills on.
What a nightmare......
but in the end after using an angle grinder, multitool, and lots of swearing got everything off.....
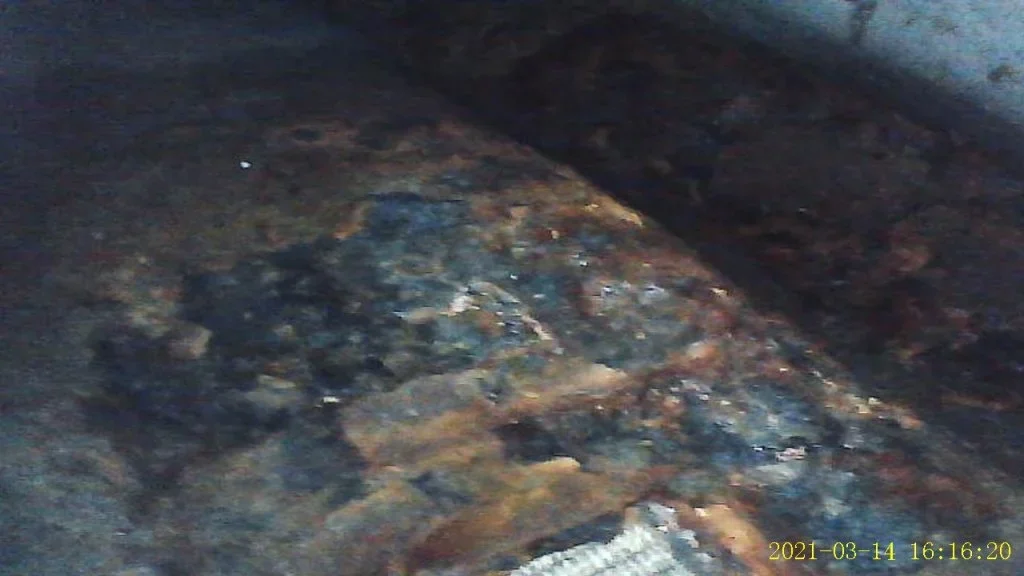
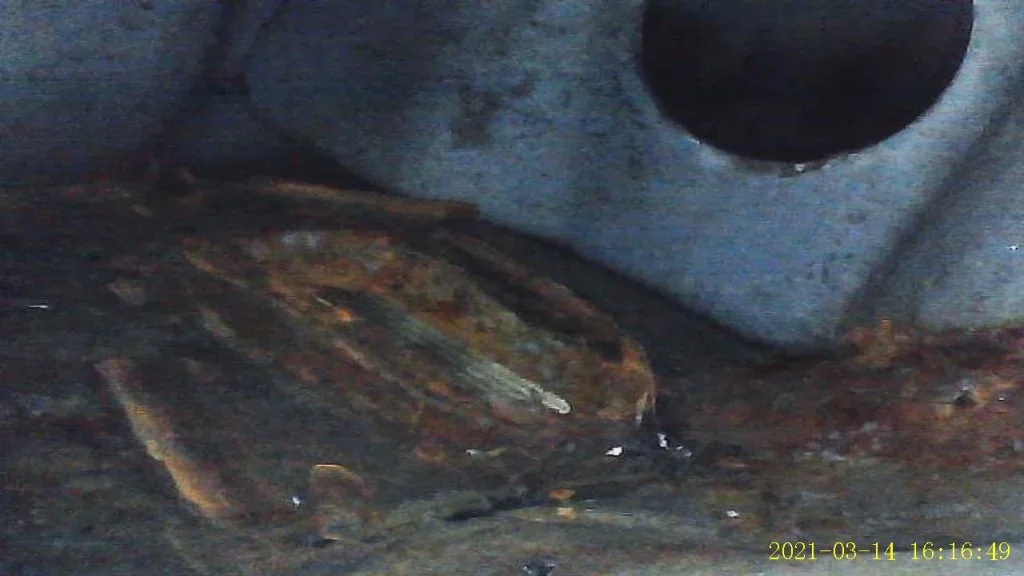
Only to find the tin worm had been very active......
There was no wheel arch liner on the front o/s so found loads of crud behind the sill.
View attachment 174077
View attachment 174079
View attachment 174081
View attachment 174085
View attachment 174087
View attachment 174089
View attachment 174091
PView attachment 174093
View attachment 174095
View attachment 174097
View attachment 174099
Now need to get the interior out and see what sort of condition that is before I do anything with this mess !!
The only up side is that although it looks pretty grim, I did tap over it all the rusty areas with a hammer and its still sound underneath.
 , ) ), and spraining my wrist....but I’m being a brave little soldier..... , but what is the indicator in the middle for? I think it would glow red.
  )
)Inner sills treatment today.....
View attachment 176629
RC900 spray. A 400ml can just enough to do both sill cavities. The nozzle with the long tube was an extra 3.99, expensive ...but worth it to get a decent coverage inside the sills.
I took some pictures with my endoscope before and will compare tomorrow with the after effect once its dried.
Then go over the external areas again with some FE-123.
Hopefully that will sort the sills then I can get on to the fun stuff......rear end removal.....Yippee!!!!
( actually having read all Lee’s threads and done it once already, its not so daunting.....although there are differences between a 1.9 and this 2.8 that I have noticed already. ( ie, there is a tube which passes down through the N/S trailing arm and which will have to come off before the subframe is dropped, and I have no idea what it is!!!!